The ship-to addresses are saved in a list linked to the customer. You can add and edit ship-to addresses in several places, including the Ship To Editor and in the Customer Master. But you can also add them on the fly while you are entering an invoice or sales order.
The entry field for a ship-to address has a dropdown list of addresses for the current customer. Press Control-W or click the disclosure button to display the dropdown list of addresses.
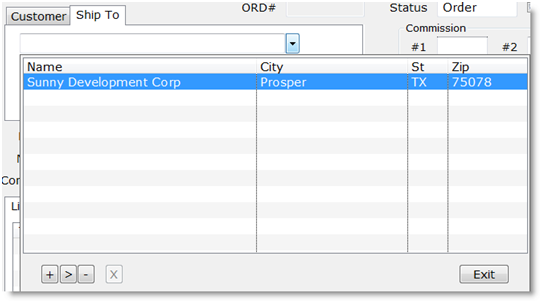
The dropdown is actually an edit window. The small “+”, “>”, and “-” buttons control the editing functions:
- Click the “+” button, or press “A” on the keyboard, to add a new address
- Click the “>” button, or press “E” on the keyboard, to edit the currently highlighted address
- Click the “-” button, or press “D” on the keyboard, to delete the highlighted address.
The buttons change caption to reflect the state of the editing process. Click “+” to add a record, and the buttons change to
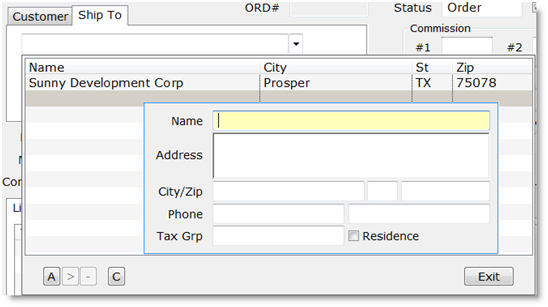
Notice that the “+” button has changed to “A” to indicate that clicking it will complete the Add process. The “>” and “-” (edit and delete) buttons are grayed out, and the “X” button, which was disabled previously, is now enabled and labeled with a “C”, for Cancel. Likewise, if you click the “>”, Edit, button, the buttons change to
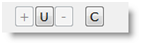
Now the “+” and “-” (add and delete) buttons are grayed out and the “>” Edit button has changed to “U”, for Update, and the Cancel button is active again.
If you click the “-” Delete button, the buttons change to

Now the “+” and “>” (add and edit) buttons are grayed out, and the “-” Delete button has changed to “D”, for Delete confirmation. Click it again, or press “D” on the keyboard, and the record will be deleted. If you change your mind and do not want to delete the record, click the “C” Cancel button, or press Escape on the keyboard.